Viewing entries tagged
Vintage Decor

Bigger and Better in Monroe...

Comment

Bigger and Better in Monroe...

Nestled about 35 minutes north of Seattle Washington is a town called Monroe. It is a friendly place with lots of antique and vintage shops to discover. Not too far from downtown is the Evergreen State Fairgrounds that gets filled up twice a year with funky junk, handmade goods, local music and lots of laughter. Yes, this is where we host The Great Junk Hunt Vintage Market. This market was a success from the beginning, wonderful hand selected vendors with big crowds coming in from all over the western Washington area. 

Exterior view of the commercial building at the Evergreen State Fairgrounds in Monroe.

We've hosted our vintage market in Monroe at the Evergreen State Fairgrounds in the commercial building since we started in Feb. of 2016. As you can tell from the picture, not the most updated or best looking building in the world, but it served it's purpose. We have quickly outgrown this building and are ready to move onto the next chapter.

Exterior view of the Gary D. Weikel Event Center at the Evergreen State Fairgrounds in Monroe.

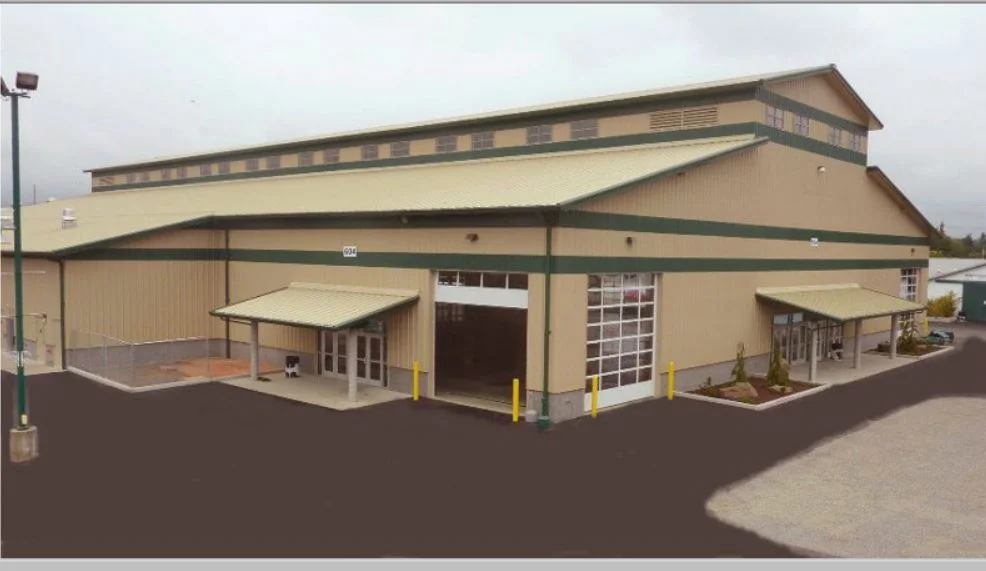
The Weikel event center at the Evergreen State Fairgrounds. 

We are thrilled to announce that we will be moving next door into the Gary D. Weikel Event Center. This event center is still within the Fairgrounds property, in fact it is about a hundred feet away. We are thrilled about this because the building is new and updated with plenty of space for the big crowds that come. There will plenty of room for strollers, wagons and carts to hold all your new found treasures. Oh, and guess what? It has bathrooms inside the building! No more walking to the building next door to tinkle! The Weikel building is 35,000 sq. ft. which means that there will room for more vendors and that means more FAB jUnK for shoppers to discover. 

Interior view of the Gary D. Weikel Event Center at the Evergreen State Fairgrounds in Monroe.

Just imagine this huge room filled with vintage and handmade goods. 

So come see for yourself all the Farmhouse Funk, Industrial, Vintage, shabby chic, mid-century and handmade goodness all under one roof! Our fall show is November 10 &11, 2017. Share it with your friends and make plans to attend today!

xoxo Linda


Comment

Comment

How to Make a Hand Painted Vintage Saw

Hey all you Pinspiration lovers! My name is Jessica and I’m the owner of Happy Heart Design Co where I get to spend my time dreaming up and creating amazing farmhouse and vintage décor for you all. I’m so excited to share what I do to make vintage saws beautiful once again!

I've always had a thing for vintage saws. My grandfather was a logger, so growing up he always had saws around and they always fascinated me - their wooden handles with sometimes intricate designs, the rust showing that they had once been useful but long since forgotten, and the thought that something so rustic, and no longer useful as it was originally intended, could be made beautiful once again {see, aren't vintage saws so romantic?}. So when I started lettering, I knew I'd have to add some of my beautiful letters to these amazing vintage pieces.

A vintage saw painted with a mountain range.

Finding vintage saws is easier than you'd think! You can usually find them in standard junkin' places like Offer Up, Thrift Stores, and Vintage/Flea Markets like The Great Junk Hunt. A few weeks ago, I found the motherlode of saws in a thrift store and I was seriously so excited that I'm pretty sure my sister (who was with me) thought I was losing it. But there were 10 of them and in all different sizes AND the entire store was 50% off so they only cost me $2 each! Normally you can find them ranging from $5-$15. You want to make sure they have a wooden handle (newer ones are plastic) and the more rust the better!

SUPPLIES

Three vintag saws, steel wool, and a paint pen. Supplies to make a hand painted vintage saw.

Time - This entire process took about 15 minutes. If you have a more complicated design, make sure to add time.

Vintage Saw - Make sure it has a wooden handle - I love to find ones with fun designs in them. The one I have for this project is the smallest one I've ever found and I just love it!

Steel Wool - Get ready for some good old scrubbin'

Gloves - I use latex gloves - that steel wool can give you some nasty slivers!

Paint Pen - For writing on saws I like to use oil based Sharpie Paint Pens. I recommend a medium point  - I feel like it's easiest to manage while writing on metal.

Design - You can always use a stencil - don't feel like you have to be an amazing artist to make beautiful things! My design process includes doing some pencil sketching and then just going for it. On saws I love paying homage to their roots and doing something outdoorsy - mountains, trees, quotes about mountains...or trees.

Let's Get Started!

STEP 1: You want to be sure your saw is clean (or as clean as you'd like it to be). The best way to do this is to don your gloves and scrub away at the gunk and rust with steel wool (and a little water). Wipe it down with a damp paper towel to see your results and decide if you'd like to go at it again, or if you have the right amount of rustic.

A person cleaning a vintage saw with steel wool.

STEP 2: It's design time! This is probably my favorite part. Sketch out a quick drawing of your idea so that when you put pen to metal you are ready to go! I like to do 3 sketches and decide which I like best - I feel like it gets the creative juices going to do more than one sketch.

A hand drawn sketch of mountains and trees.

STEP 3: Let's paint! Follow the directions on the paint pen to get it primed and ready - then go to town! I always keep a baby wipe or wet paper towel nearby while I'm painting so that I can quickly "delete" anything that I'm not loving.

A person using a paint pen on their vintage saw, drawing a mountain range.

STEP 4: Let your paint dry and then go back over your design. Especially if you are using white (which is my color of choice for saws), you'll want to retrace the design so that there are at least 2 layers of paint. I also recommend priming the pen as soon as you notice the paint not coming out as cleanly. I do this on a scratch paper I keep next to me.

A person drawing a mountain range on a vintage saw.

And we're done! You can either hang it with a couple of nails (one with the handle and one under the saw tooth part), or just find a place to prop it up (like I did). Either way, you'll have a beautiful rustic addition to your decor that YOU created!

A vintage saw with a hand drawn mountain range on display.

Comment